Become a pro committer with husky and commitlint

Hello everyone, welcome to the new blog where we will be discussing about how you can upgrade your commits, your changes and your codebase to achieve proper documentation and code structure. In this blog, we will learn about husky and commitlint, and how you can utilize these 2 packages to make sure your code follows a professional standard automatically after you commit your code and a change log is also generated. I will show you the entire demonstration using create-react-app but you can apply the concepts anywhere as long as you understand them. Now that the intensions are set, let us first understand in brief what all the stack we will be using and why?
Theory:
Conventional Commit:
The Conventional Commits specification is a lightweight convention on top of commit messages. It provides an easy set of rules for creating an explicit commit history; which makes it easier to write automated tools on top of. This convention dovetails with SemVer, by describing the features, fixes, and breaking changes made in commit messages.
The commit message should be structured as follows:
<type>[optional scope]: <description>

[optional body]

[optional footer(s)]
Husky:
Automatically lint your commit messages, code, and run tests upon committing or pushing.
Lint Staged:
Linting makes more sense when run before committing your code. By doing so you can ensure no errors go into the repository and enforce code style. But running a lint process on a whole project is slow, and linting results can be irrelevant. Ultimately you only want to lint files that will be committed.
Let's do the practical demonstration:
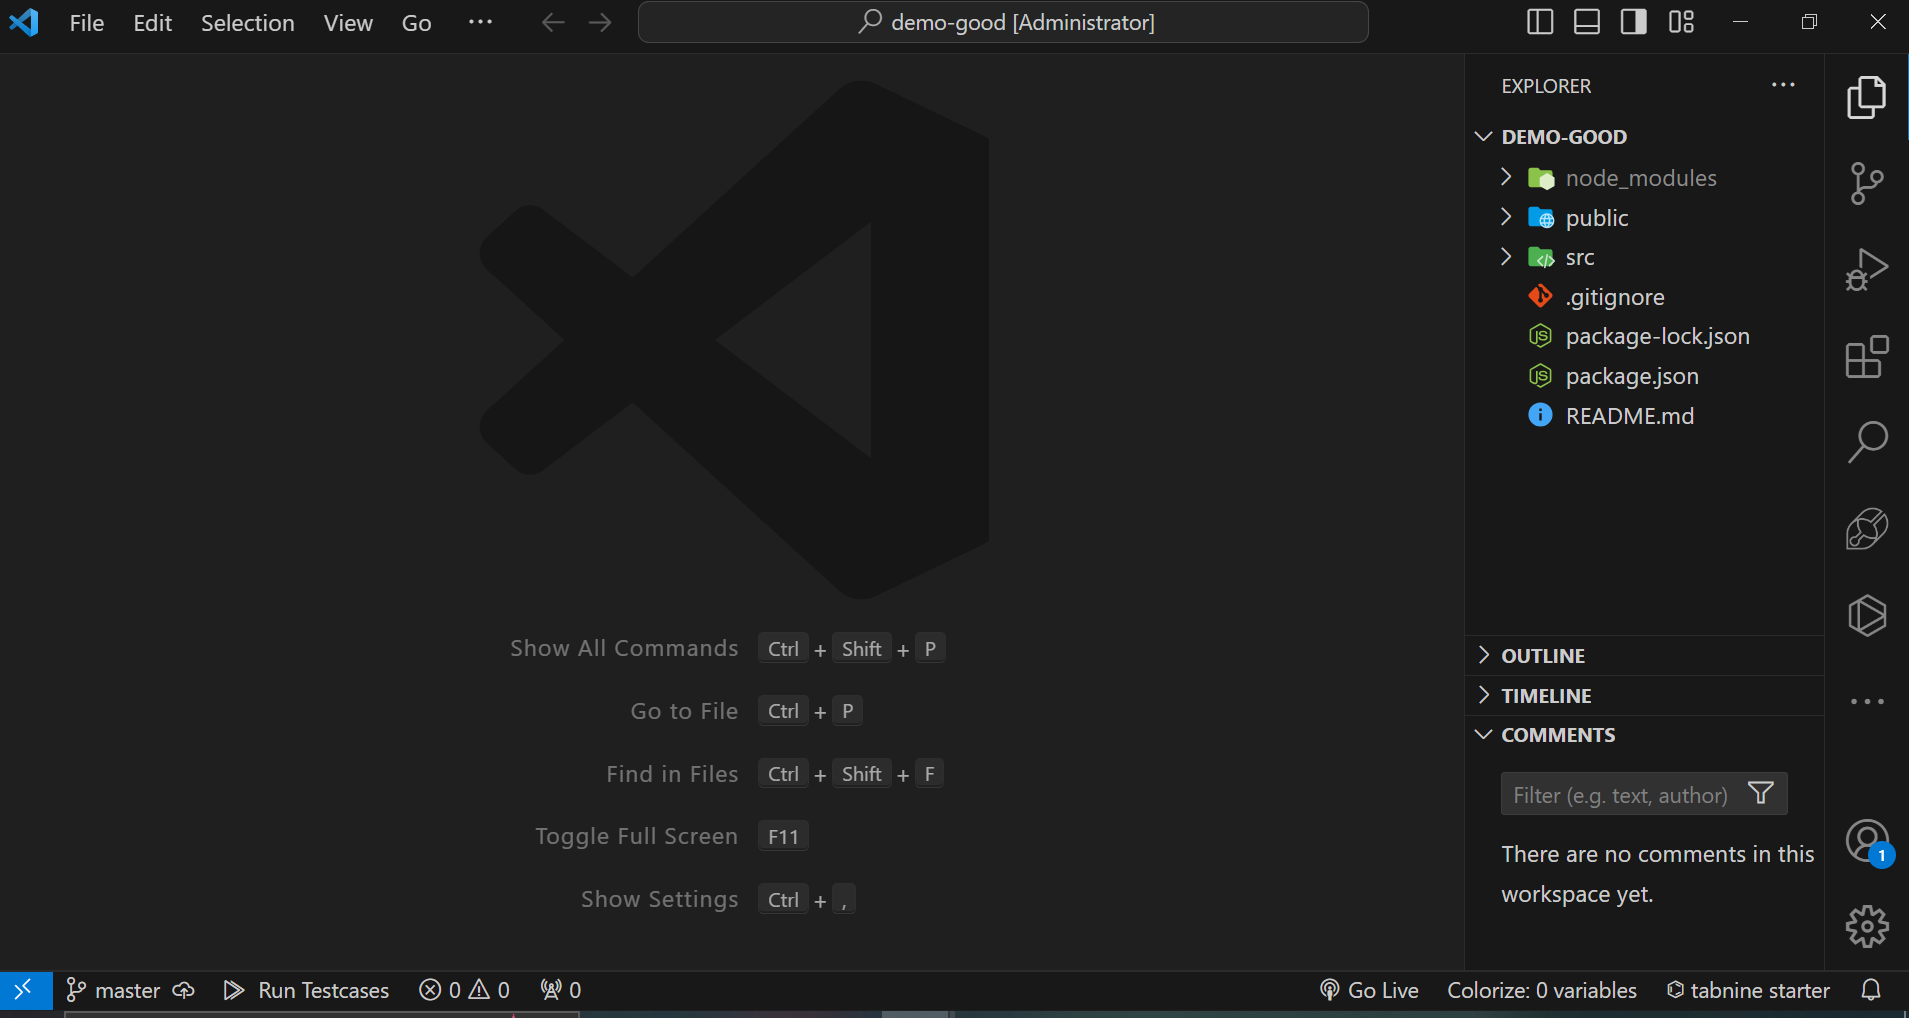
1. Will start by creating a new react app. I am using create-react-app only
shell npx create-react-app good-demo
Now that react app is set, let's install the dependencies like husky, commitlintrc, prettier, lint-staged and also set the configs.
2. Setting up Husky
npm install -D husky
npx husky init
Now that you execute these 2 commands in your terminal, you will see .husky directory having pre-commit file having just npm test only. Don't worry, we will set it up.
3. Installing commitlintrc, lint staged, prettier
npm install --save-dev @commitlint/config-conventional @commitlint/cli prettier lint-staged standard-version
4. Now let's set up Prettier and Prettier ignore
1. Create a file named .prettierrc having just empty object {} 2. Create a file named .prettierignore having contents
# Ignore artifacts:

build

coverage
5. Create commitlint.config.js and .lintstagedrc
- .commitlint.config.js
module.exports = {

  extends: ["@commitlint/config-conventional"],

};
- .linstagedrc
{

    "*.{js,ts,jsx,tsx}": [

        "prettier --write",

        "eslint --fix",

        "eslint"

    ],

    "*.json": [

        "prettier --write"

    ]

}
Now 90% things are done, we just have to configure the husky for the commit lint rc as well.
Setting up files in husky directory
- pre-commit
#!/usr/bin/env sh

. "$(dirname "$0")/_/husky.sh"


npx lint-staged --concurrent false
- commit
#!/usr/bin/env sh

. "$(dirname "$0")/_/husky.sh"


npx --no -- commitlint --edit
Now let me explain what this does. From now whenever you will commit, the husky will run and hence will enforce lint, prettier and commit rules. Let's see how it does
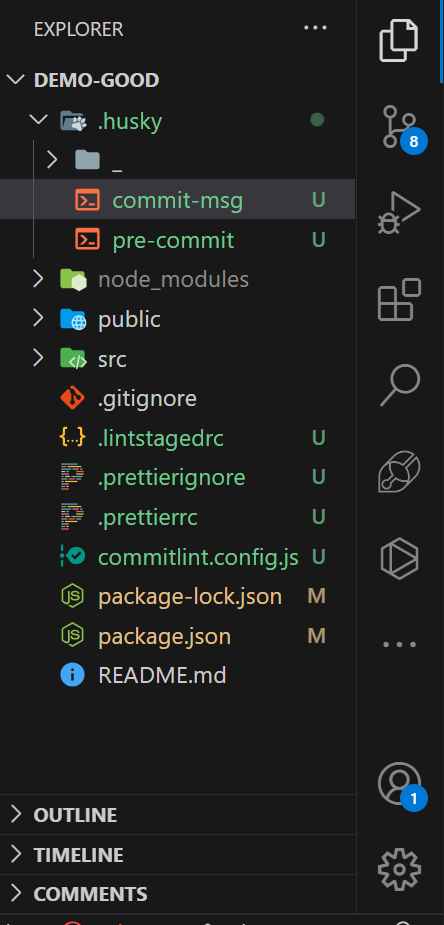
Your file structure after this should look like this
Now I will re-initialize the git repository just to prevent any errors and make sure everything is in sync.

Now let me add all the changes and make a commit and see what happens
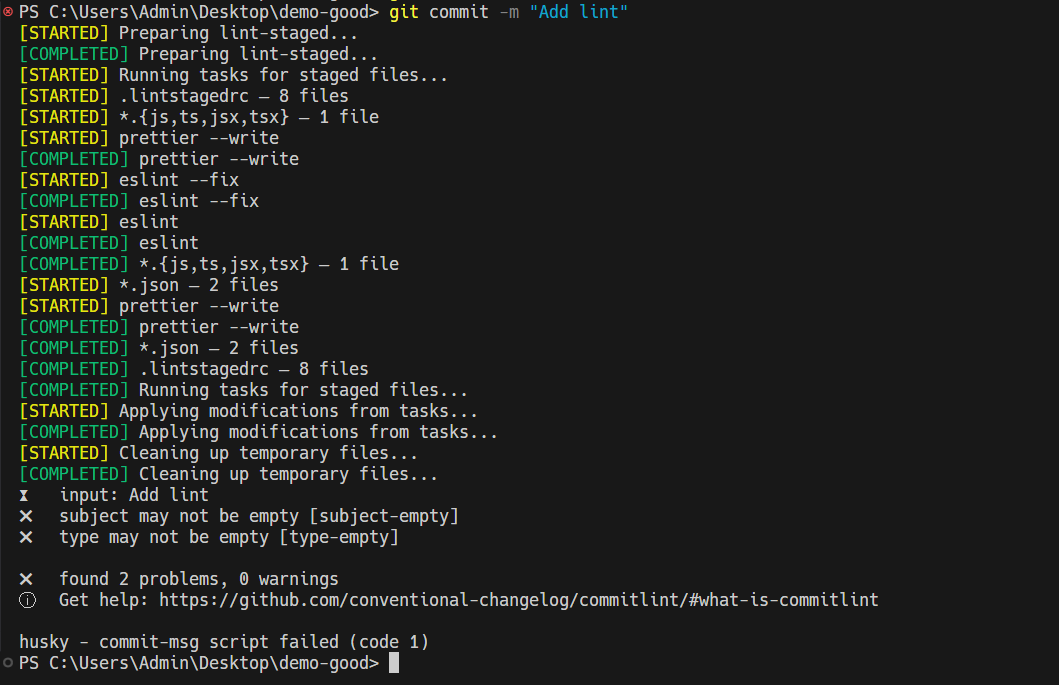
Did you observe? Our eslint and prettier run perfectly but commitlint gave error. Why?? because our commit message is Add lint which violates the rules of commitlint message. You can learn more about rules from the documentation here. For now just remember short convention type: message in lower case. Let me add new message and see what happens. Also we can generate changelog as follows:
npx standard-version --first-release

File named CHANGELOG.md will be created after fetching details from the commit message you gave.
# Changelog


All notable changes to this project will be documented in this file. See [standard-version](https://github.com/conventional-changelog/standard-version) for commit guidelines.


## 0.1.0 (2024-03-19)
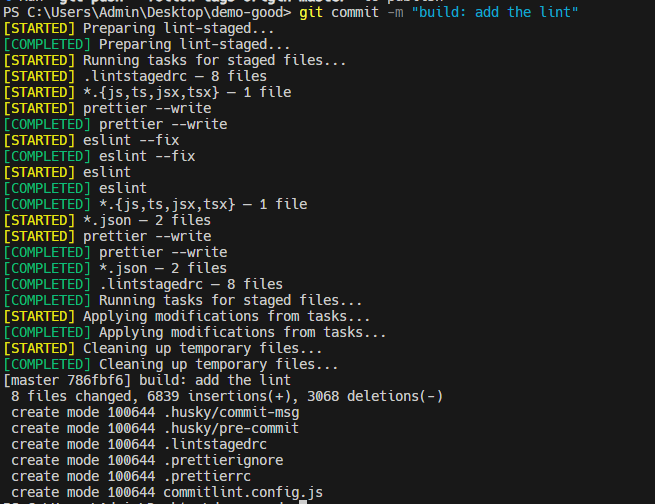
As you can see the commit is successful and congratulations you have now enforced strict rules around your codebase which will make it more professional and more readable for future you and community as well.

Devrajsinh Jhala
Self-taught Developer with over 2 years of experience in developing websites. I want to help clients build websites with technologies like 𝗥𝗲𝗮𝗰𝘁.𝗷𝘀, 𝗡𝗲𝘅𝘁.𝗷𝘀, 𝗮𝗻𝗱 𝗧𝗮𝗶𝗹𝘄𝗶𝗻𝗱𝗖𝗦𝗦 to make their websites fast, and UX-friendly. I also love teaching the things I learn, so I also blog my learnings in a way for people with little knowledge to consume. Web-Developer: Made over 𝟱+ 𝗽𝗿𝗼𝗷𝗲𝗰𝘁𝘀 on web development with a range of technologies including Reactjs, Nextjs, TailwindCSS, Bootstrap, Redux, ContextAPI, etc. I believe in Learning by building and so I love applying what I learned to help clients build premium websites with the latest technologies to give their end-users the best experience possible. Additionally, I also love watching anime and playing online video games. Feel free to connect with me: Email: jhaladevrajsinh11@gmail.com